
Tr100c Sand Filter Replacement: A Comprehensive Guide
When it comes to maintaining the quality of your water supply, the Tr100c sand filter plays a crucial role. Over time, however, the sand within the filter may become clogged or contaminated, necessitating a replacement. In this detailed guide, we will explore the various aspects of replacing a Tr100c sand filter, ensuring that you are well-informed and prepared for the task ahead.
Understanding the Tr100c Sand Filter
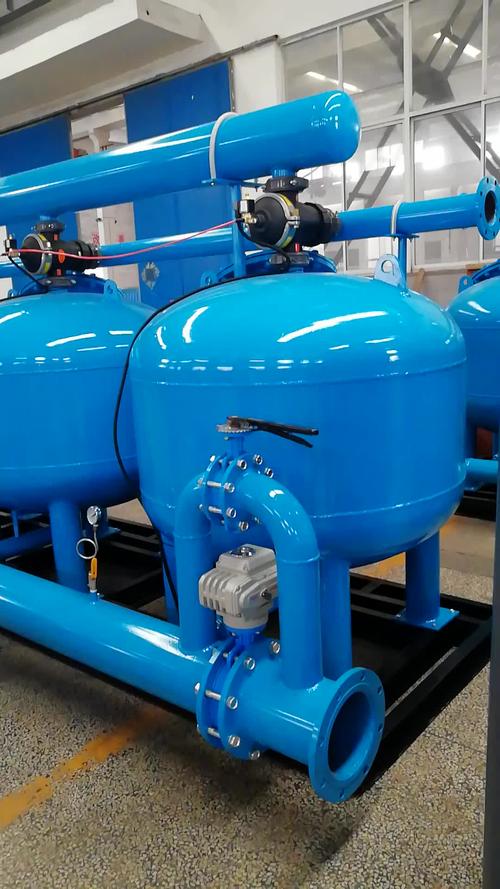
The Tr100c sand filter is a popular choice for residential and commercial water purification systems. It is designed to remove impurities, sediment, and contaminants from water, providing a cleaner and healthier drinking experience. The filter consists of a tank, a distribution system, and a bed of sand, which traps particles as water passes through.

Understanding the components and operation of the Tr100c sand filter is essential before proceeding with the replacement process. Familiarize yourself with the filter’s layout, including the location of the drain valve, the distribution system, and the sand bed.
Identifying the Need for Replacement
Several signs indicate that it may be time to replace your Tr100c sand filter. These include:
-
Reduced water flow: If you notice a decrease in water pressure or flow rate, it could be due to a clogged sand bed.
-
Discolored water: Brown, orange, or red water may indicate that the sand has become contaminated and needs to be replaced.
-
Unusual noises: If you hear strange noises coming from the filter, such as gurgling or bubbling, it could be a sign of a problem with the sand bed.
-
Old age: Sand filters typically have a lifespan of 5-10 years, depending on usage and maintenance.
Preparation for Replacement
Before you begin the replacement process, gather the necessary tools and materials. These may include:
-
Replacement sand: Choose a high-quality sand that meets the manufacturer’s specifications for your Tr100c filter.
-
Filter media: Depending on your filter’s design, you may need additional media, such as anthracite or garnet.
-
Tools: A wrench, screwdriver, and gloves will be helpful for disassembling and reassembling the filter.
-
Drainage system: Ensure you have a way to drain the water from the filter tank before disassembly.
Disassembling the Tr100c Sand Filter
Follow these steps to disassemble your Tr100c sand filter:
-
Turn off the water supply to the filter.
-
Drain the water from the filter tank using the drain valve.
-
Remove the filter lid and inspect the sand bed for any signs of contamination or damage.
-
Loosen the bolts holding the filter body in place and carefully remove the body from the base.
-
Remove the distribution system and any other components, such as the laterals or risers.
Replacing the Sand and Media
Follow these steps to replace the sand and media in your Tr100c sand filter:
-
Empty the sand bed completely.
-
Wash the sand thoroughly to remove any debris or contaminants.
-
Reassemble the distribution system and any other components.
-
Place a layer of filter media, such as anthracite or garnet, on the bottom of the filter tank.
-
Layer the washed sand on top of the media, ensuring that the sand bed is level and even.
-
Reassemble the filter body and lid, and tighten the bolts securely.
Reassembling and Testing the Filter
Once the sand and media have been replaced, follow these steps to reassemble and test the Tr100c sand filter:
-
Reconnect the water supply to the filter.
-
Open the


